- About
- Courses
-
Destinations
EuropeNew Zealand
- Journal
- Contact

 Free Brochure
Book
+44(0) 1225 632 165
Free Brochure
Book
+44(0) 1225 632 165
Waxing and tuning your snowboard helps to keep it in top condition and running smoothly on the slopes. The process can be extremely rewarding, and really isn’t that hard to do. Sure, you can take your board to a shop to get it serviced, but you’d miss out on a great bonding experience.
This guide shows you how to wax and tune your board in a few easy steps. Take the time and you’ll reap excellent results.
What you need
You'll need to invest in a bit of kit before you can get going, but it isn’t overly expensive and you’ll save on shop services in the long run. Here are the essentials:
If you have workshop and bench, great, but hardly any of us have that luxury. All you really need is a robust surface that’s half to three-quarters the length of your board. You could use a tool box or even a sturdy coffee table. It’s best to do everything in a garage or outside, as the wax does tend to stick to flooring and make a bit of a mess.
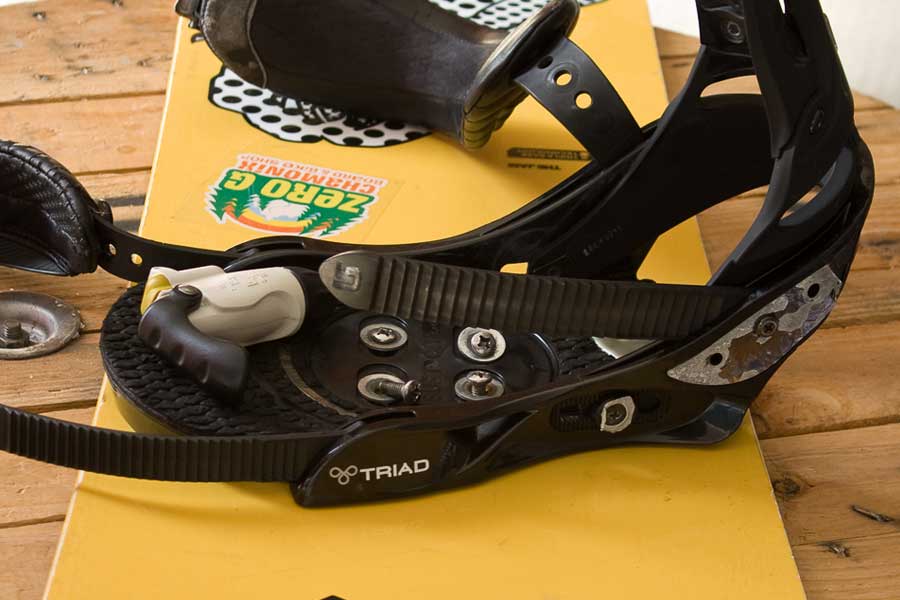
Step 1 – loosen or take your bindings off
This is an important step which is often overlooked. When your bindings are tightened into your board, the screws can suck minor divots into the base. It’s not advisable to warm up the base when the divots are there, as it can accentuate them and make them permanent. You also want a nice flat surface to wax on to.
If you don’t want to take them all the way off, you can just loosen the screws a little.
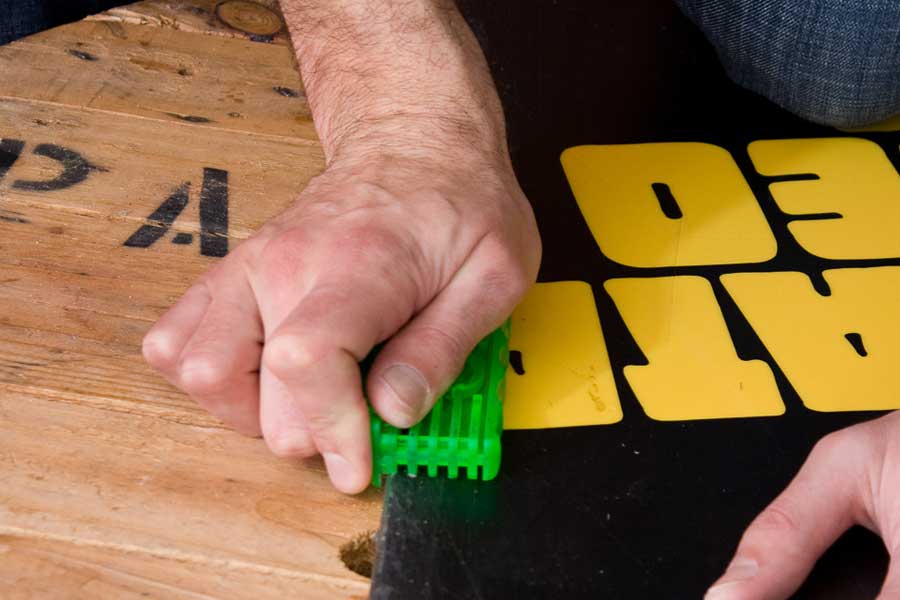
Step 2 – sharpen your edges
It’s likely that your edge sharpener has several angle options. 90 degrees is the standard setting for beginner / intermediate riding. 89, 88 and 87 degrees are progressively more advanced. The more acute angles will give you more bite, which is handy on hard-pack and is often used for racing.
Once you’ve decided on an edge angle, take a permanent marker pen and draw down your side edge. This technique is handy while you’re getting used to sharpening edges, but not always necessary. When the line’s gone, you’ve sharpened the whole edge.
You should only sharpen the concave section of the edge. To see where to sharpen more precisely, place your board right way up on a flat surface, the area you want to sharpen is between where the board touches the ground at the front and back (assuming you have a regular camber board).
The file in your edge sharpener is probably one-directional. There should be an arrow on the side of the file that indicates the direction it should go. Arrange the file so that it is pointing in the right direction for you to stroke from nose to tail on your first edge – ideally most actions you take when waxing and edging go in one direction, from the nose to the tail of the board. Now apply pressure with the file on the side edge and drag it along the length of the edge. Do this several times until your black marker pen line has gone.
To test the sharpness of the edge, scrape your fingernail over it – your nail will peel if your edge is sharp. Once you’re happy with the sharpness of your first edge, rearrange your file and do the other side.
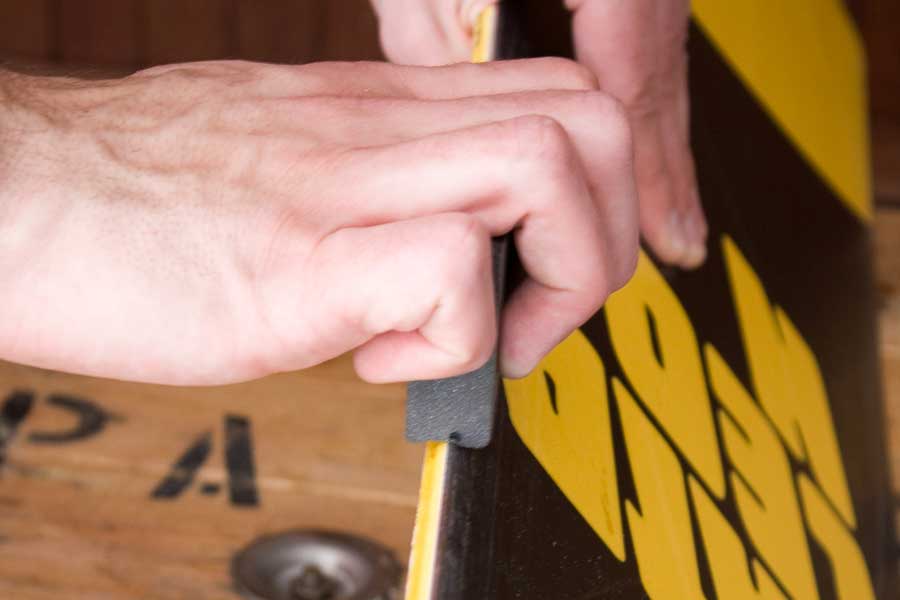
Step 3 – polish your edge
This isn’t 100% necessary, but it’s nice to do. Take your edge rubber, if you have one, and give it a few scrubs along each edge. This will shine up your edges nicely, remove any rust, even out any imperfections made by your file and improve performance very slightly.
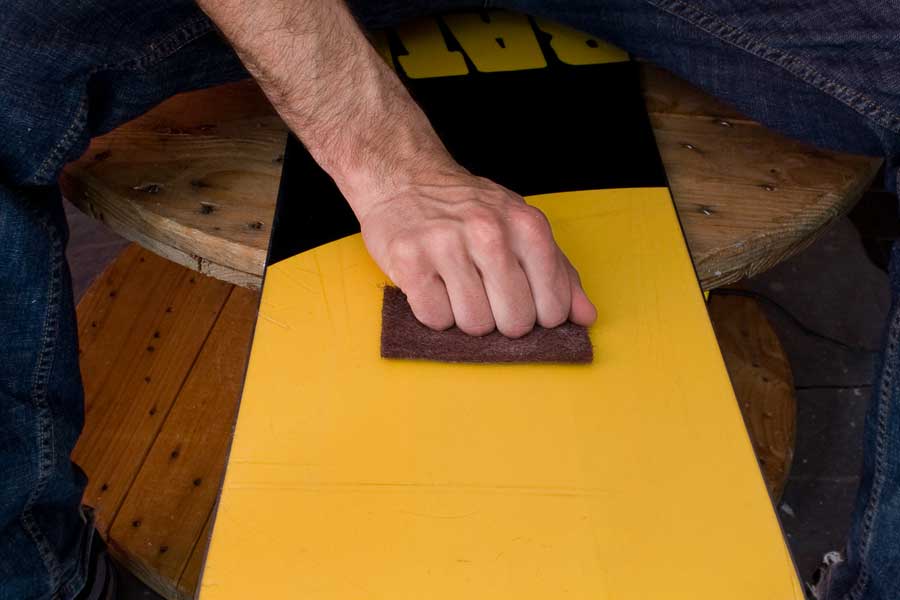
Step 4 – clean the base
Before you wax your base, you want to make sure it’s clean so it can take on the wax. You can use a wax remover if you like, but most of the time you’re fine to just give it a scrubbing over with a nylon brush.
Take your brush and give it 4 or 5 hard strokes in each area to remove any excess wax and dirt. This will create a bit of dust, so give your base a quick wipe over with a scotch pad afterwards.
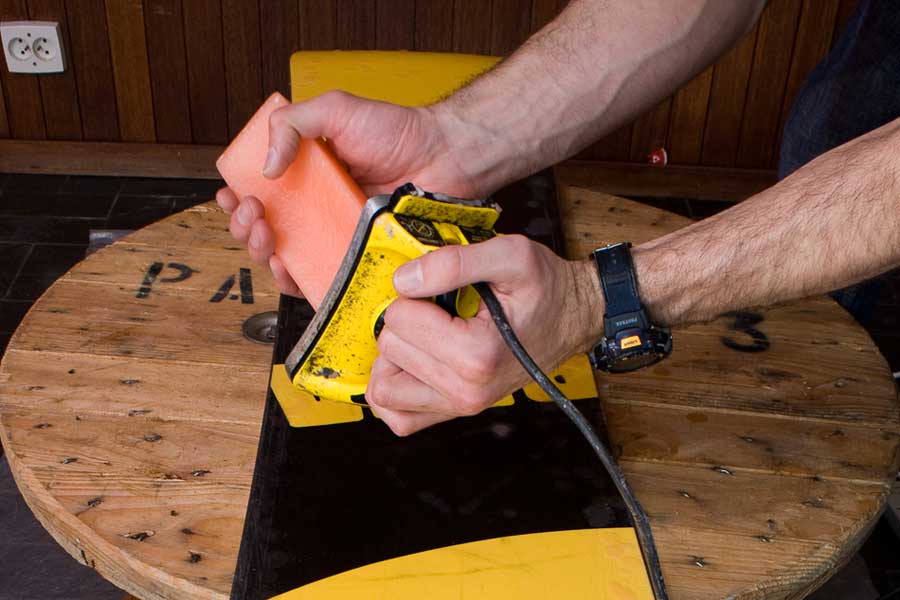
Step 5 – apply wax
If you’ve got a specialised waxing iron with a temperature gauge, look at the packet your wax came in and it should recommend a temperature to set the iron to. If you’re using a regular clothes iron, set it up on a low temperature, so that it just about melts the wax with a slow dripping flow.
Take your block of wax and press it on the iron while moving it around the board. Start by dripping a line around the edge of the board – this is where the board will be particularly thirsty for a waxing. Then drip the wax in an “s” shape to fill the centre. Then take one more pass along the middle of the board and fill in any of the larger gaps.
This isn’t an exact science – just give the board an even coating, without applying too much wax (which will be a pain to scrape off).
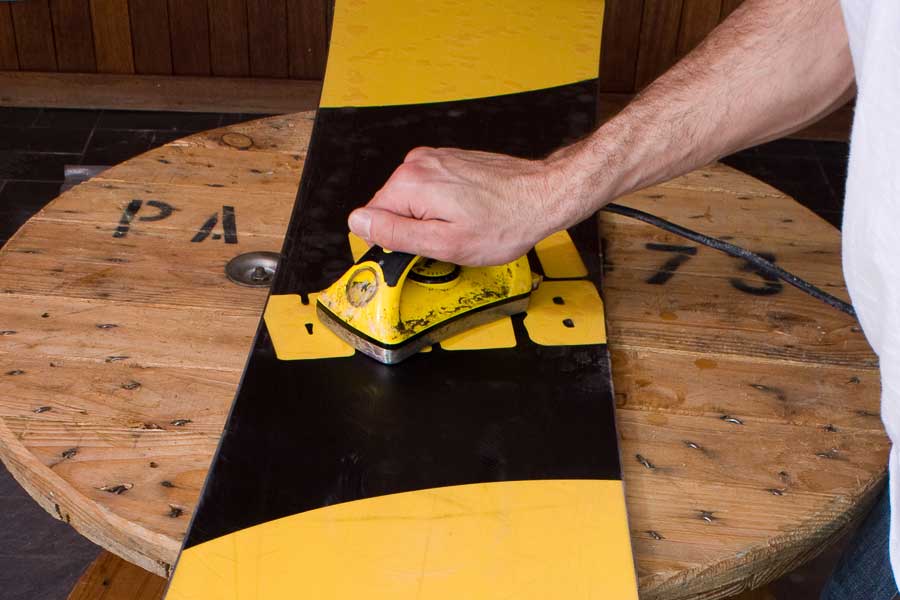
Step 6 – spread the wax
Take the iron and spread the wax evenly around the board. Use small localised circles until an area is covered before moving onto the next area. Don’t focus on one area for too long because the board may be damaged by excess heat.
A sign of spending too long on one area is if the wax stays wet for more than a couple seconds after you leave it. Just try to keep moving as much as possible.
Step 7 – leave to cool
The board and wax are going to need to cool down for a while before you scrape. So make a cup of tea and put your feet up – you’ve earned a break. Ideally leave it for 20-30 minutes.
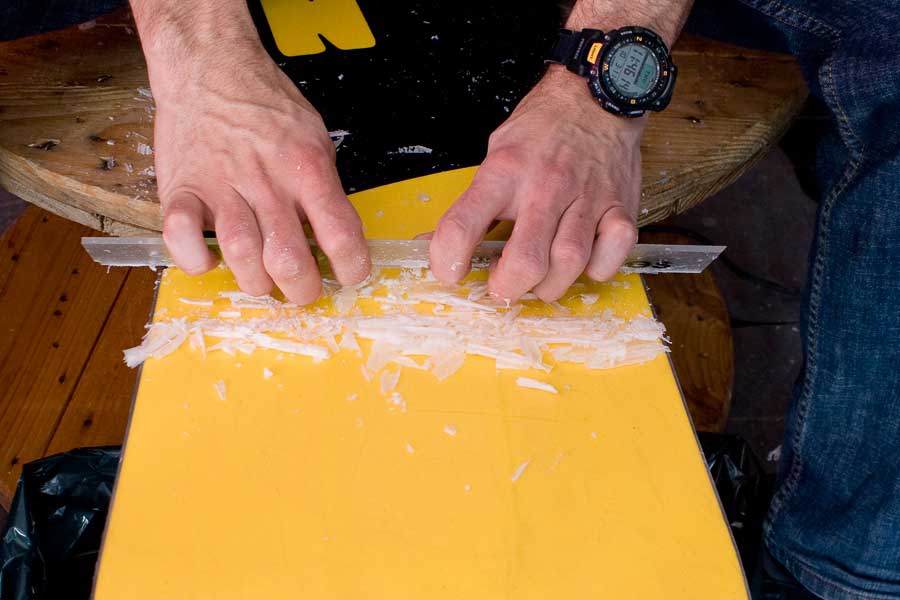
Step 8 – scrape your board
As with edging, it's generally advisable to scrape from nose to tail. Get your plastic scraper and angle it at around 45 degrees, then push hard and scrape along the length of the board.
Continue until all the visible wax is gone and the surface is smooth and even. Don’t worry, the wax has still done its job even though you’ve scraped it off.
Don’t forget your edges – they won’t grip the snow when they’re covered in wax. Most scrapers have a square cut out of the corners. Use this to run over your metal edges.
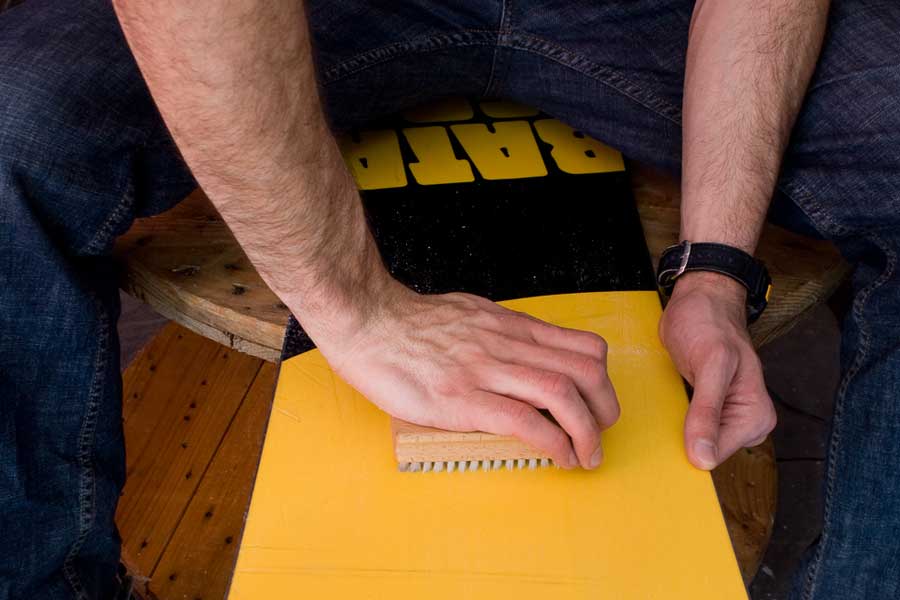
Step 9 – finish your board
This is where a bit of pride comes into your work. With this phase you can make your base shine and significantly increase its performance. Firstly, take your scotch pad and give each area of your base 3 or 4 hard strokes, to even out your scraping job. Then take your nylon base brush and give each area 3 or 4 hard strokes, working from nose to tail – this adds structure to your base, which stops suction and allows it to run smoother and quicker.
You’d have kicked up a bit of dust, so to finish the job take a wet sponge and give the base a wipe. Your base should now be shining like a vinyl record and your edges ready to tackle the toughest of hard pack.
Master your sport
Our snowboard courses focus on developing your riding skills while growing your knowledge and understanding of the sport too. Along the way, you'll receive a masterclass on waxing and tuning your snowboard in our maintenance workshop.


We look forward to speaking with you.