
How to ride button, t-bar or drag lifts on a snowboard
“BUTTON LIFT” - those two words can send shivers down snowboarders’ spines and bring back painfully embarrassing memories. There’s no need to be embarrassed though, every snowboarder has been there. If you just grab the bull by the horns and focus on mastering drag lifts rather than avoiding them, you’ll make life a lot easier. Plus you’ll open yourself up to some amazing areas that would be otherwise unreachable.
On our snowboard camps our professional coaches will take you to some of the most incredible snowboarding of your life. These all-inclusive snowboard camps are aimed at all levels so we have something for everyone. Sadly there is one drag lift so read on for tips on how to ride them.
Do button lifts just exist to punish snowboarders? There are a lot of conspiracy theories going around, but the answer is NO! Button lifts are often installed because they’re less of an investment for resorts. Also on glaciers, buttons can be the only option, as supports for chair lifts aren’t possible on moving ice.
To follow are some hints and tips to help you ride button lifts with ease and confidence.
Before tackling button lifts you need to make sure that you are comfortable scooting with your rear foot out of your binding, so try and build confidence whenever you can. A good way to practice is to try to stay on your feet for as long as possible after coming off a chair lift. Use all of the good technique you use when you’ve got two feet in, it’s the same principle! It’s strange how technique tends to go out the window when you’re doing something slightly different, so you just need to focus on the classic areas:
- Keep your back straight and upright
- Bend your knees
- Keep your shoulders in line with the board (there’s always a tendency to open your body up – don’t do it!)
- Don’t lean towards the tail of the board. Keep your weight on that front leg and you’ll be able to steer as you would normally.
Now you’re confident with one foot out, you need to pick a button lift to practice on. There’s a massive variation in drag-lift difficulty. Some can be steep, some can jerk you off suddenly and sometimes you may even overtake the button in sections! So, make life easy for yourself, start at the bottom and work your way up. It’s best to spend a bit of time on a typical nursery slope button lift to get your confidence up. Generally they have a reasonably shallow pitch and don’t have any surprises along the way.
Step 1 – Get into position and grab the pole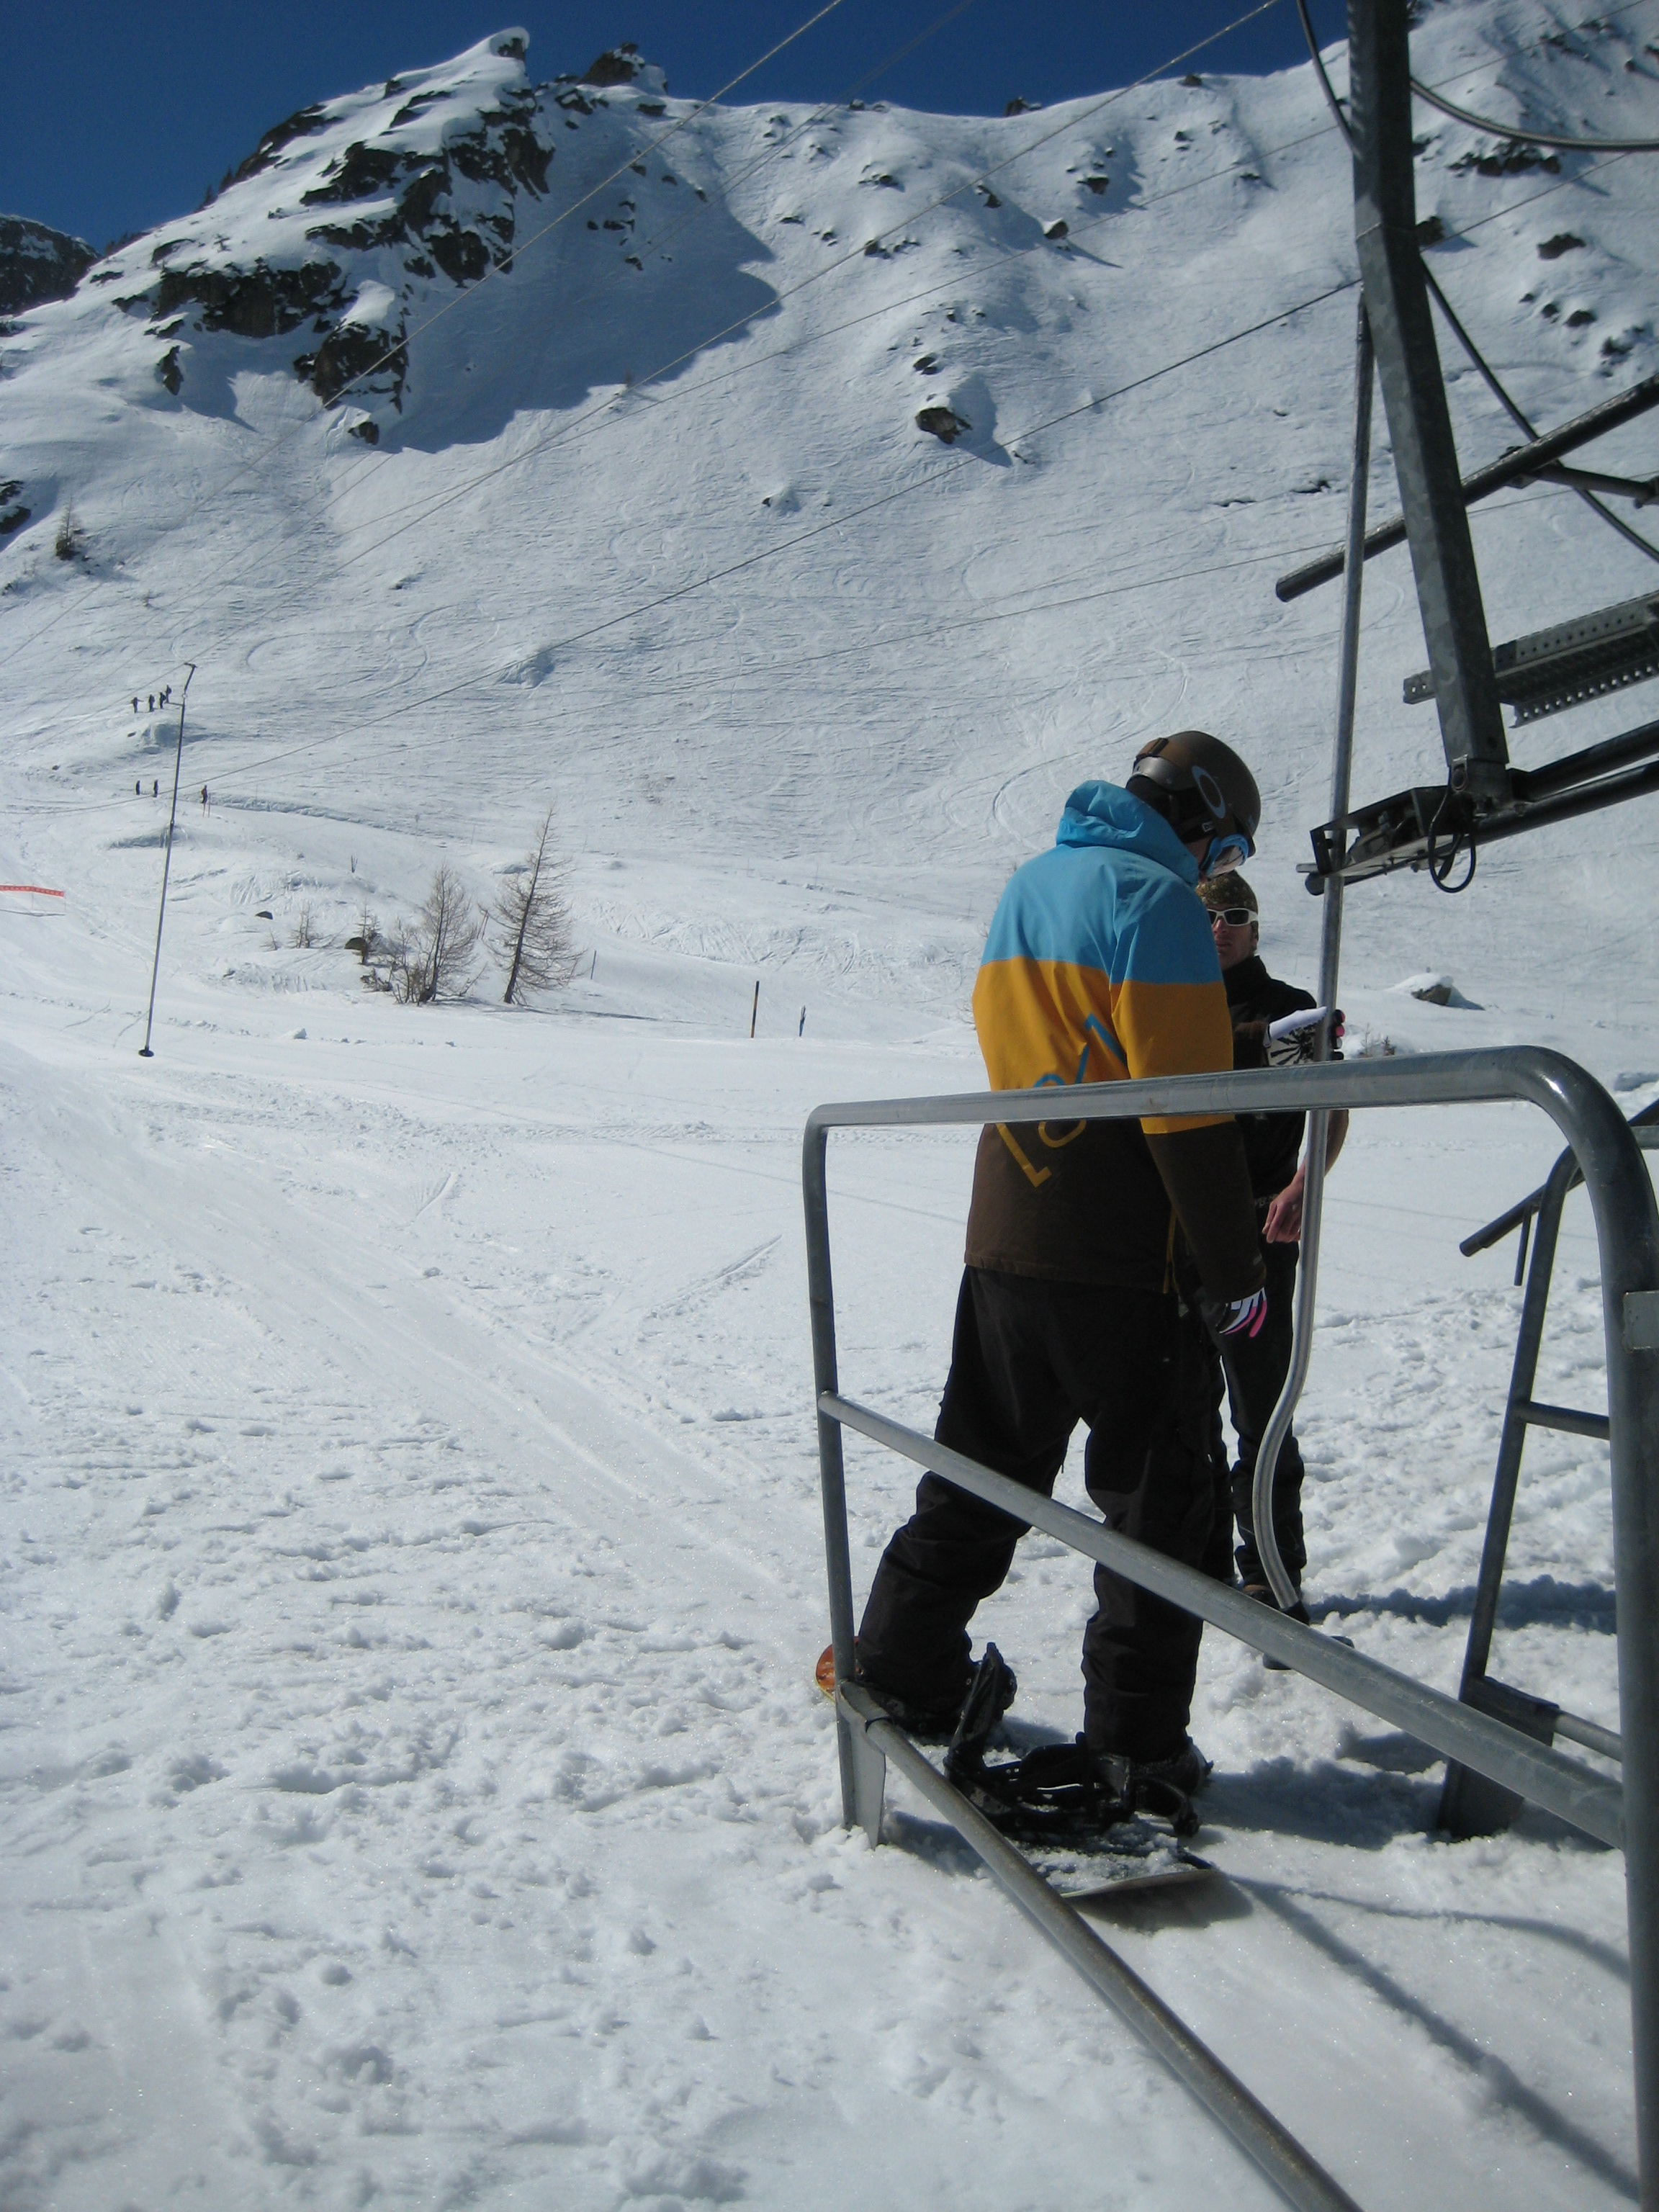 Once the person in front of you has moved away, get yourself into the starting position and set up a nice posture for yourself, with your rear foot on (or close to) the board. Don’t be in too much of a hurry while you’re learning, it’s no big deal if you miss the first button that goes by. Look over your rear shoulder and grab the next available pole as it passes you with both hands, then secure it firmly in your front hand.
Step 2 – Get the button / t-bar between your legs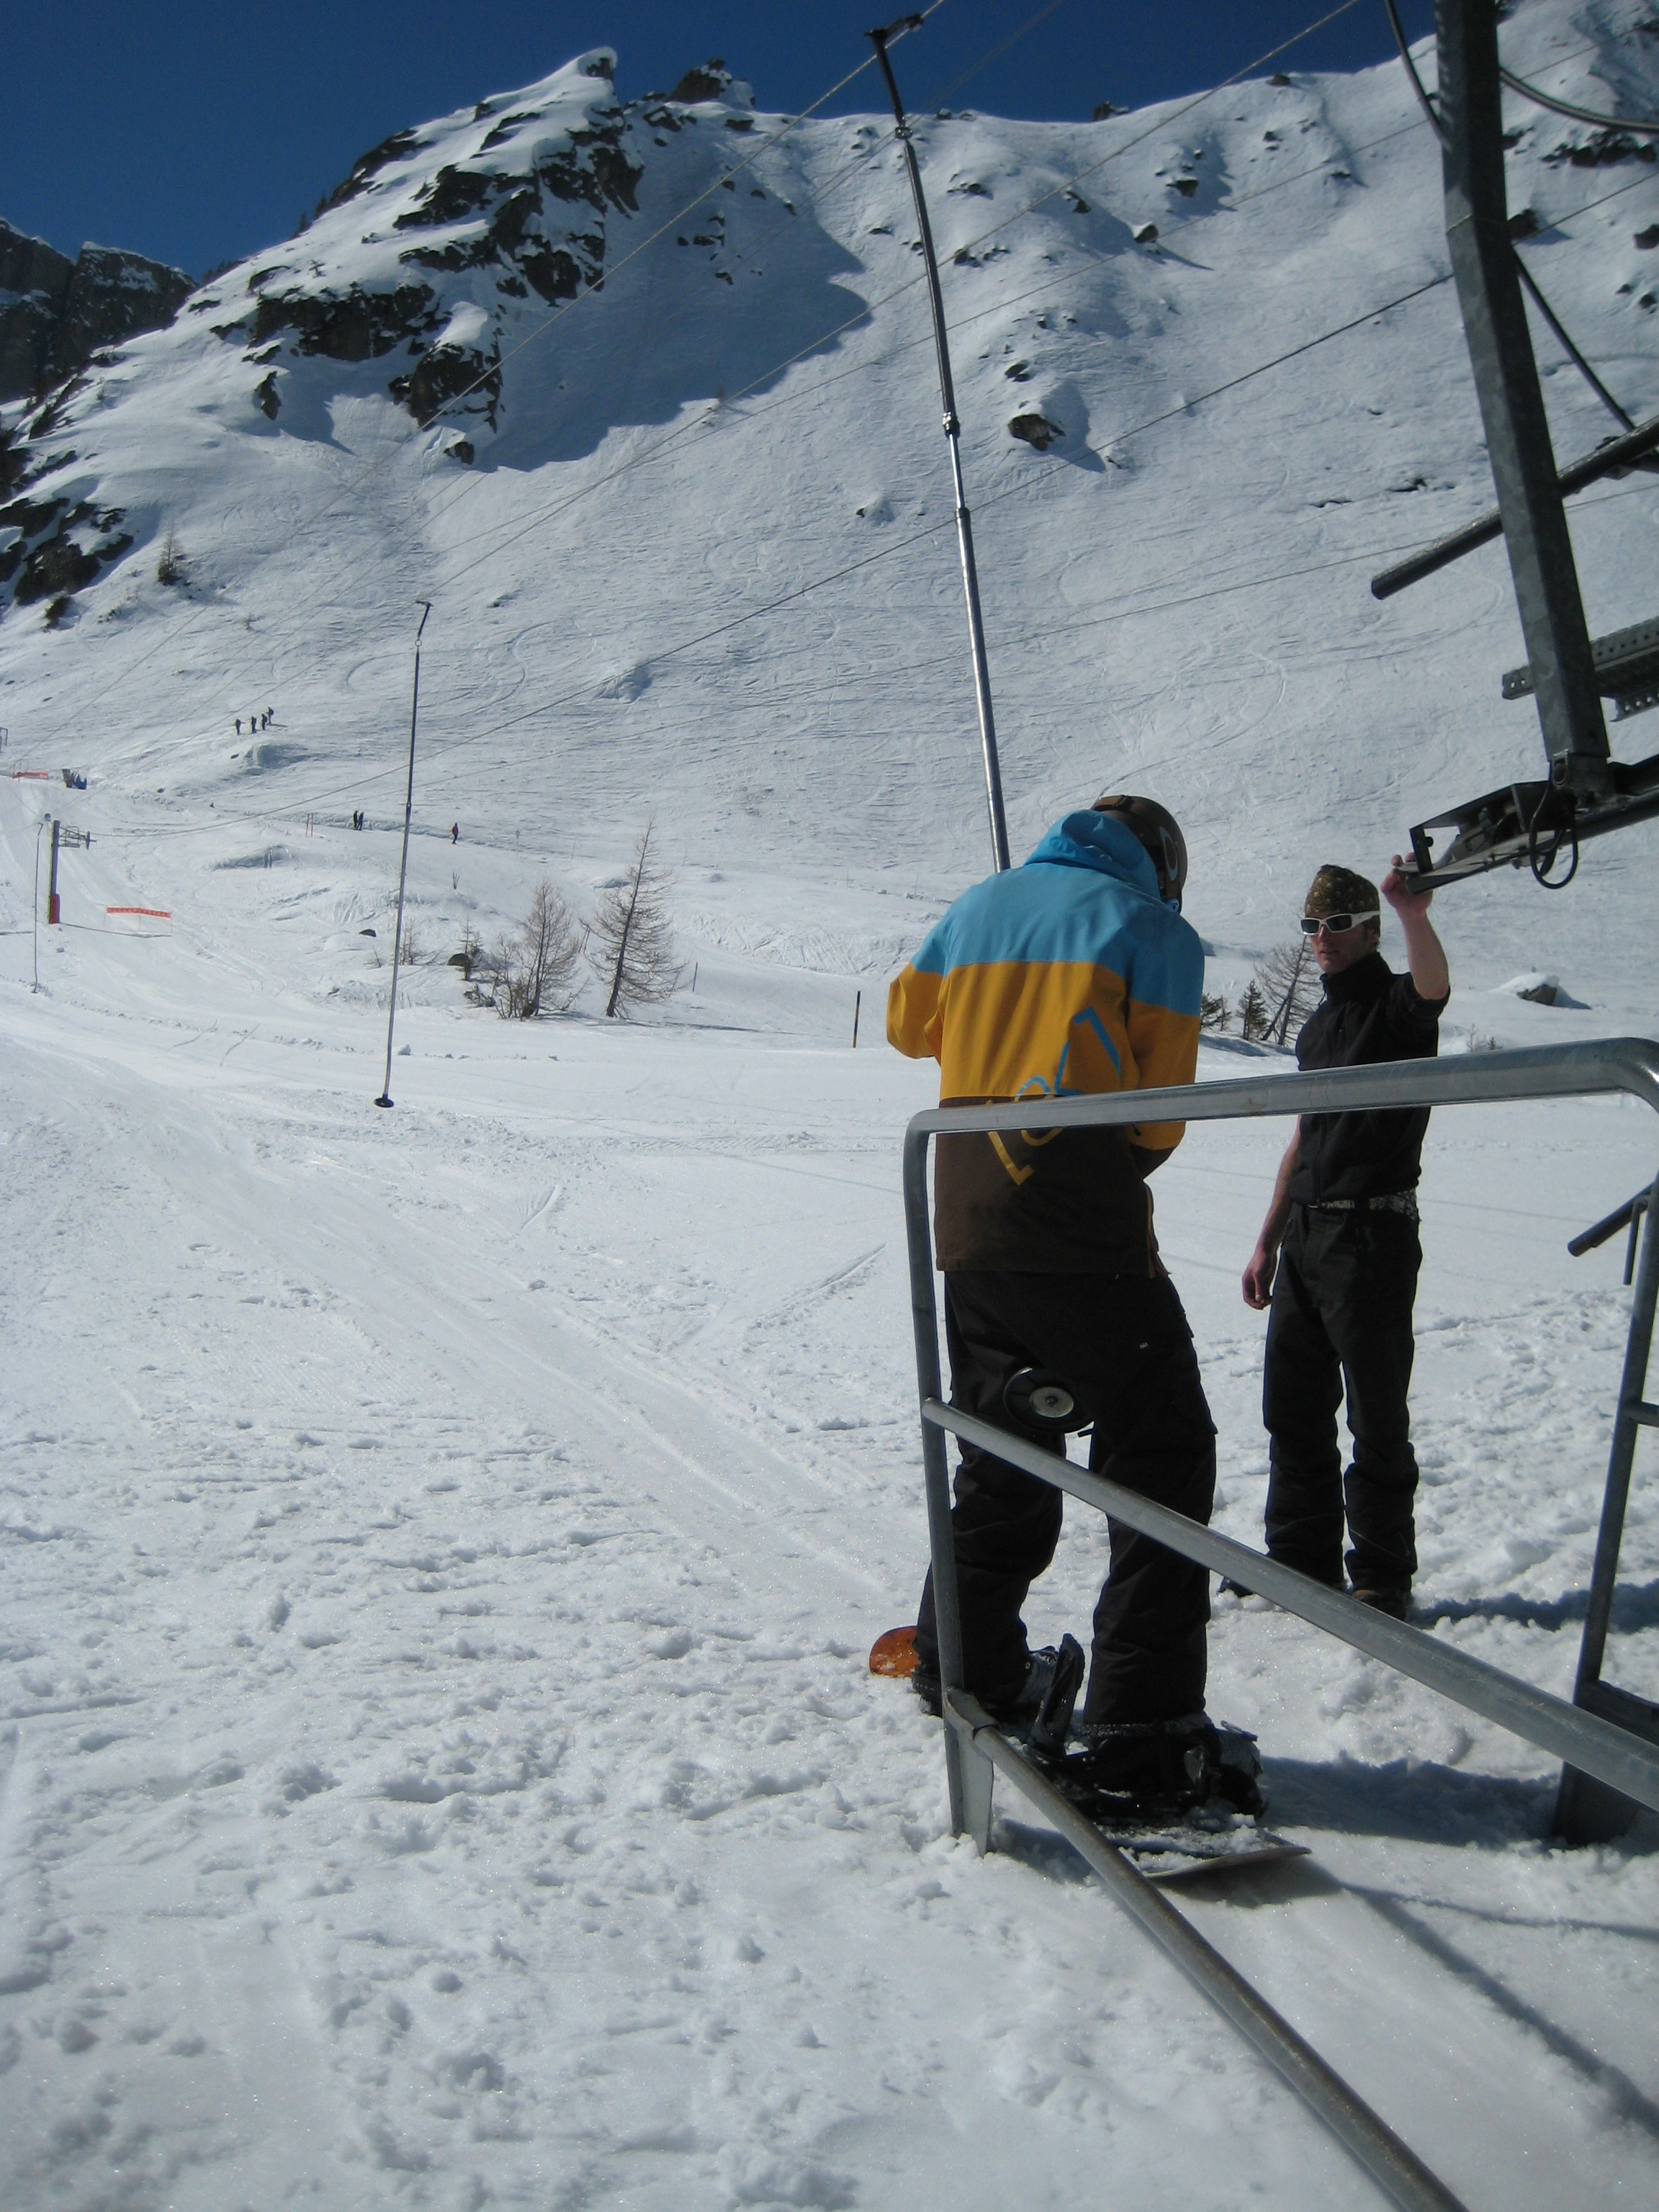 Be prepared to take the strain of the moving button with your leading hand (which is now securely holding the pole). Then place the button between your legs, so that it rests on the inner thigh at the top of your leading leg and put your rear foot on your board. Don’t make the mistake of sitting on the button – keep a good riding posture. The grasp of your leading hand and the pressure of the button on your thigh will then get you moving.
Step 3 – Keep a good posture while you’re moving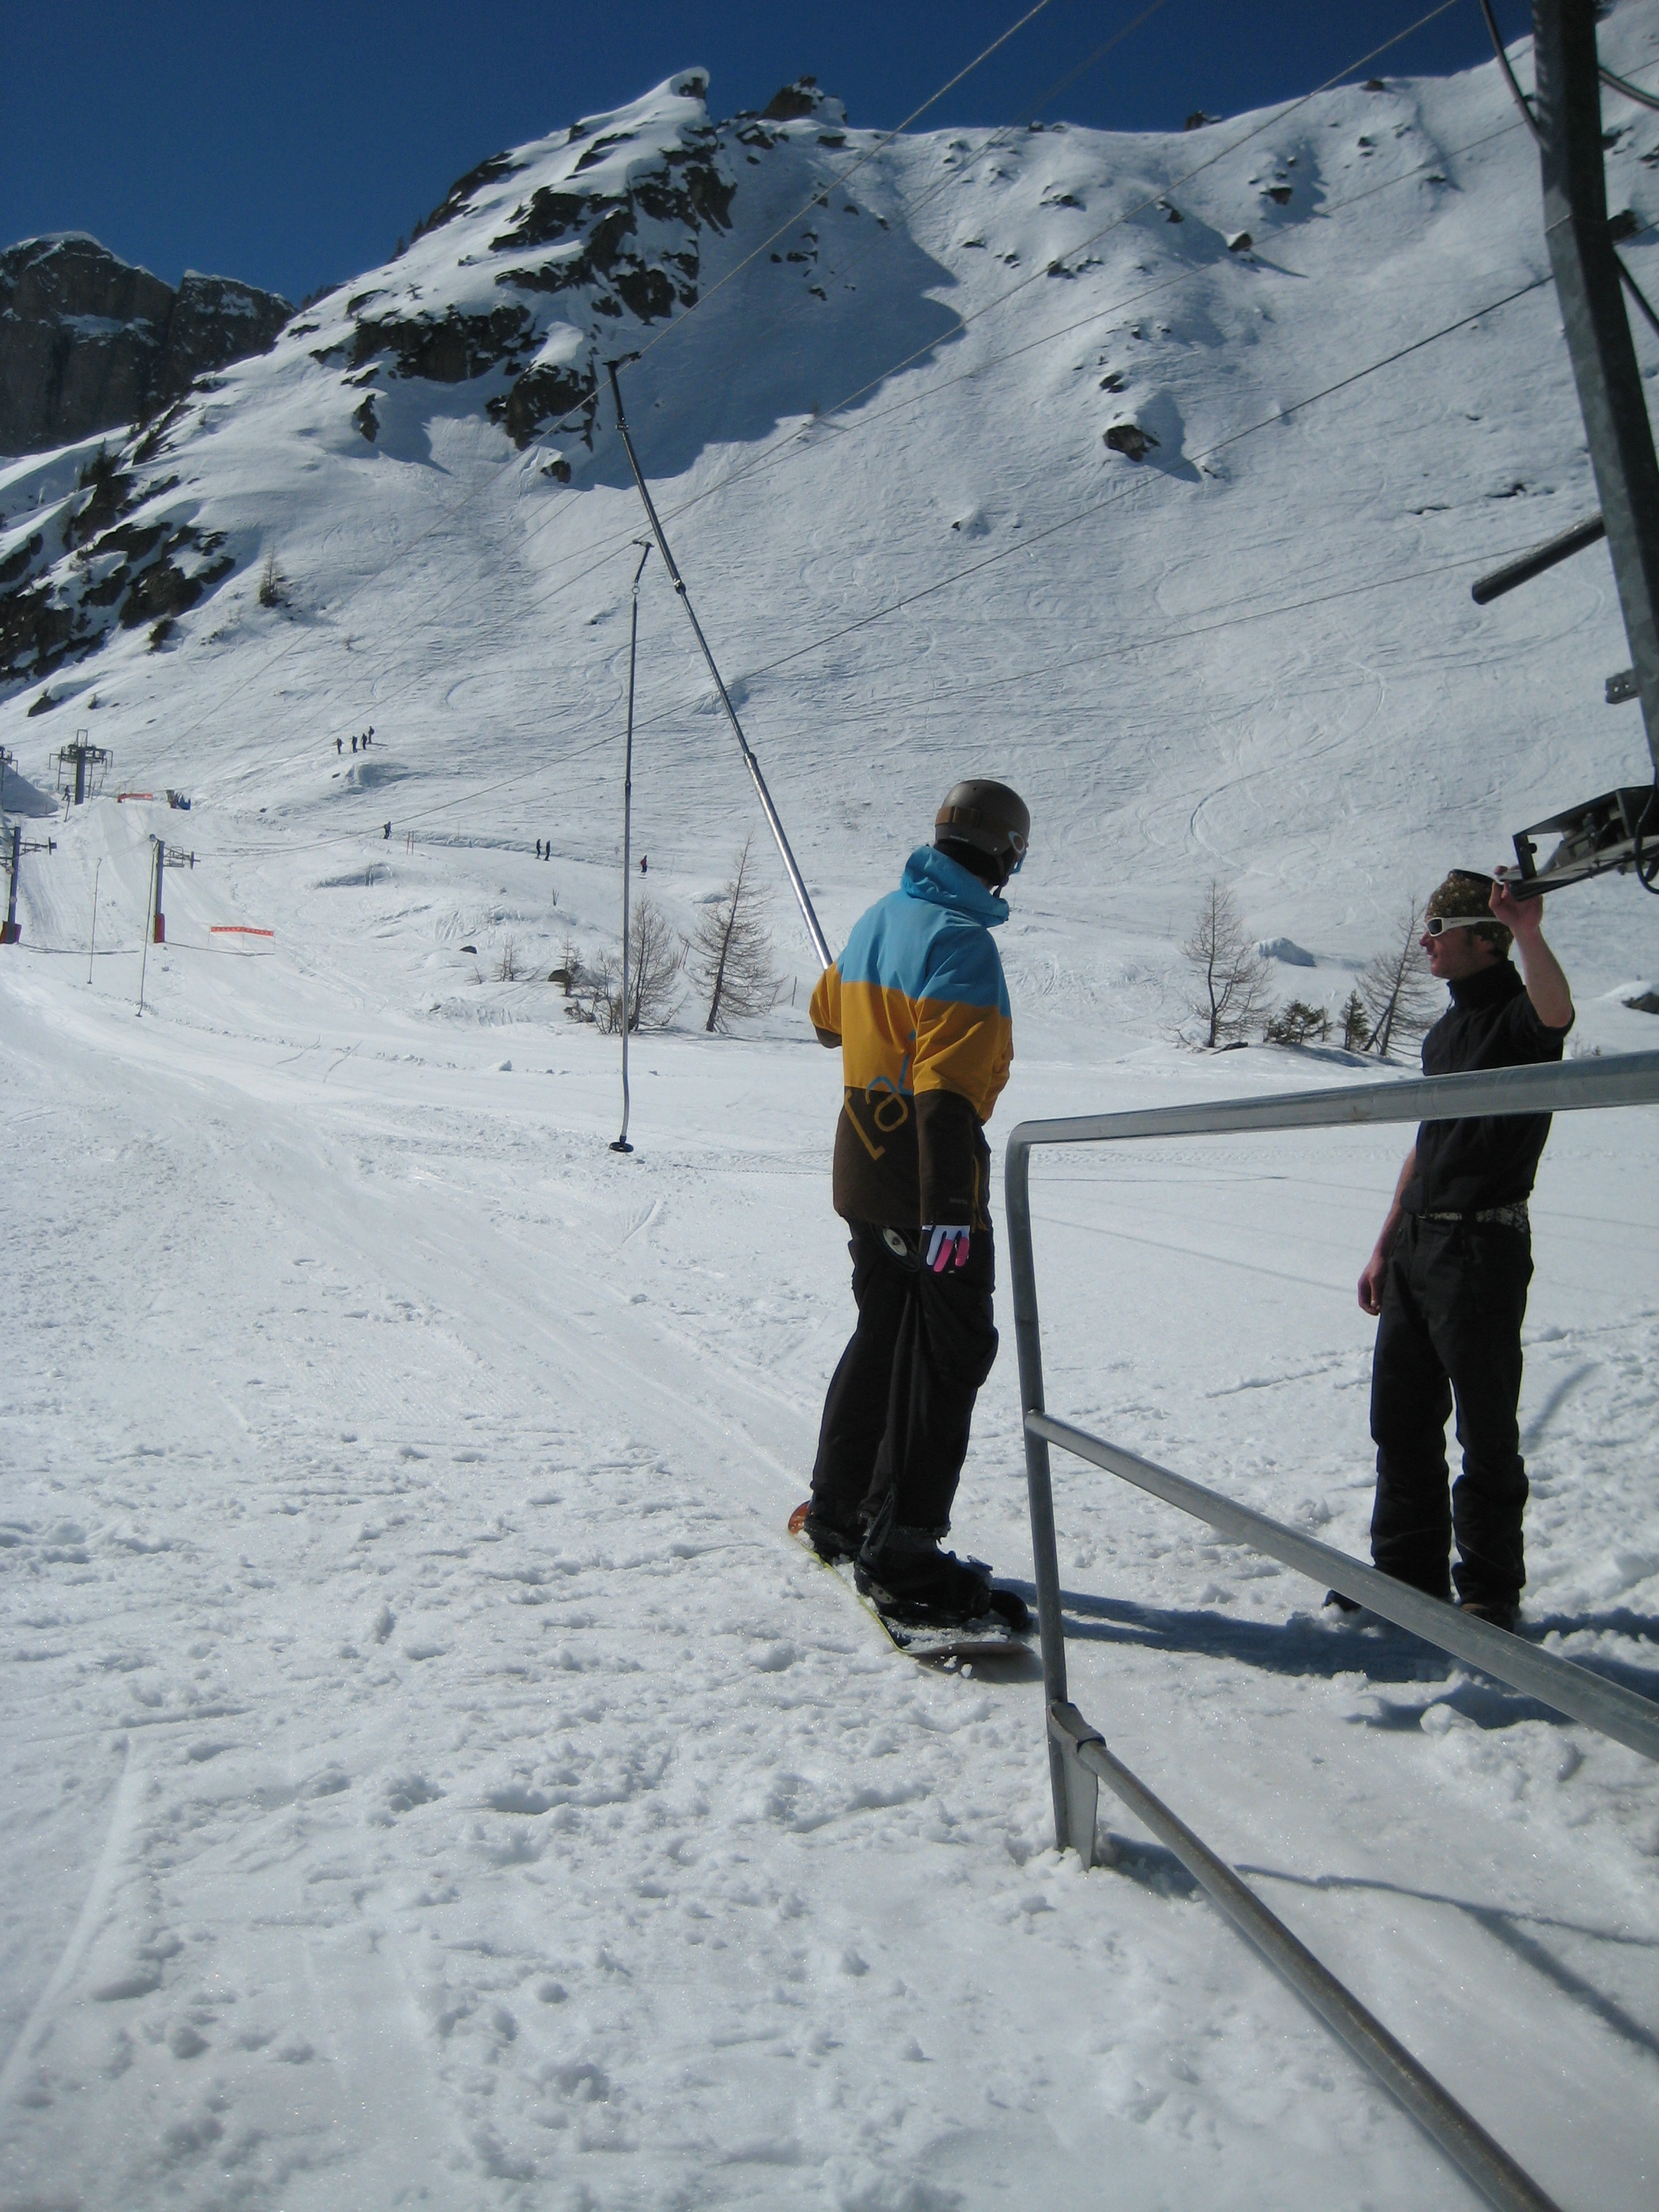 Good posture is the key to a comfortable ride. It’s very easy to turn your shoulders around so that your chest faces the pole – don’t do it! Keep your shoulders in line with your board. A good way of ensuring this is to point a finger of your rear hand at the tail of your board.
Step 4 – Relax and shift the pressure Try not to tense up, it will give you cramp, make your muscles ache and make for an uncomfortable ride. Relax and bend your knees a little. When you’re feeling pressure or pain building up on your thigh, try to take some more of the weight with your leading hand. Then when your arm starts getting tired, allow your thigh to take a bit more pressure again. If you’re on a steeper more challenging button and feel that you’re losing grip on your thigh, try grabbing the pole with both hands and tugging yourself uphill a little – this will release pressure for a second so that you can rearrange yourself.
Along the way there may be a few twists and turns, which you will be able to tackle with ease if your shoulders stay in line with the board. If you wish, you can steer the board as you normally would, but make sure you’re not leaning back, because you’ll need weight over your front foot in order to turn. All you need to worry about then is letting go of the button at the top of the lift.
If you want to put this technique to practice then join us on our snowboard holidays and camps or one of our snowboard instructor courses.